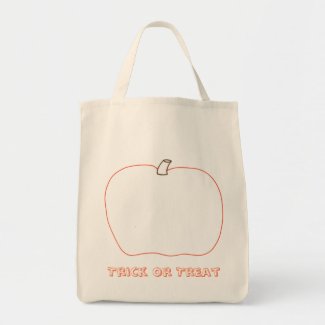
Here you will find a selection of Halloween tote bags that the kids can color and or paint in. There are various outline drawings that feature a Halloween design. They can be used as they are or they can be personalized by kids.
The outline drawings are already printed on the bags which the kids can personalize with their coloring, painting, and or adding their own artwork. A simple way to color, paint them in is with fabric paint markers, or paint them in using brushes and fabric paint.
The kids can also glue on ribbons, beads, googly eyes, etc., whatever would make it more fun and personal for your child.
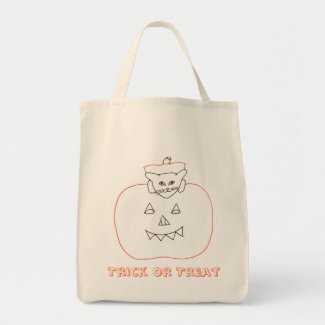
This first one is one of my favorites; it's a cute little kitten that had gotten into a pumpkin and is now peeping out of the pumpkin top. You can see its tail when you look at the pumpkin's nose. You can see the kitten's back feet if you look at the pumpkin's eyes.
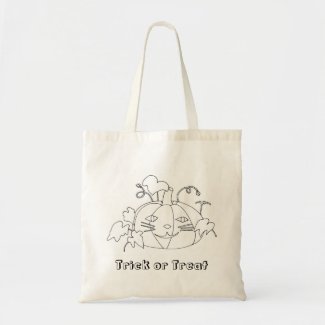
Here's another one for cat lovers. This Halloween pumpkin sports a cute and happy cat face. Pumpkin vine leaves surround the face.
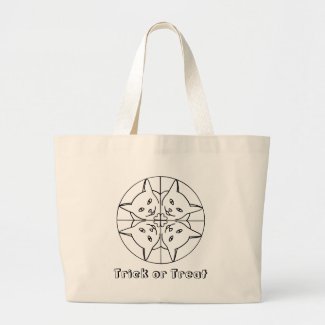
I love cats and can't resist sharing this cute version of cat love on Trick or Treat Bags. It features an outline drawing of four cat faces in a circular pattern, connected by four hearts in the center. Kids can have fun making the cats different colors, and the hearts too!
This pumpkin needs a face. Kids can add their own flare by creating their own unique face design on this Halloween pumpkin. What kind of face do you think that they'll create?
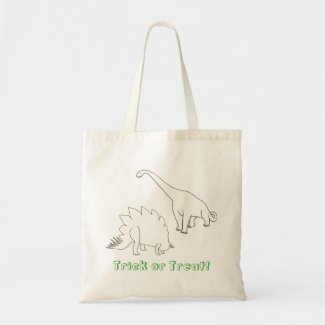
Yes, there are more options than cats. This cute bag features two different types of dinosaurs, with color in text. It includes a Tyrannosaurus and a Steggosaurus.
Thank you for your selection(s). By doing fun and creative activities with your kids, you'll be creating fun and special memories. Plus, the kids will have a sturdy bag in which to collect their Halloween goodies. Happy Halloween!
Cheryl Paton
Are you looking for fun ways to share Halloween photos? Here are at least four ways to get you started. The image used below is from my own self photo.
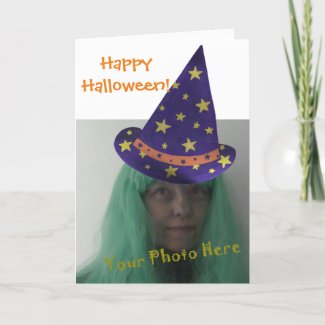
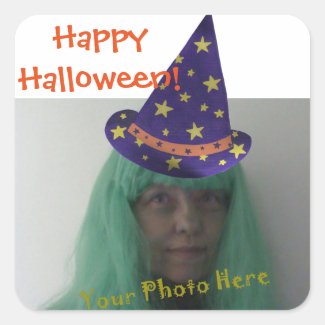
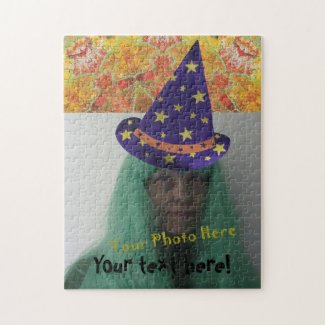
With this wizard hat design, you can add a photo under the hat for some creative Halloween fun. All you need to do is replace my head image with a photo of your own. If it doesn't line up with your first try, just click on customize; then you can move the photo around and also adjust its size.
Here is the greeting card, which can also be purchased and downloaded or sent to you.
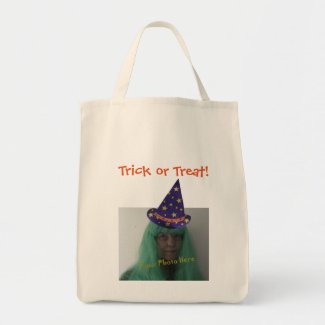
You can also choose from Trick or Treat bags made of canvas. This is a fun idea for personalized trick or treat bags for the kids; and they're also sturdy. The tote bag showing is the grocery tote. It is sturdier than the budget tote. There are five different tote bag styles to choose from, and some also come in a choice of color.
These fun stickers can be added to gifts, cards, etc. Unused stickers can also be included in the card! There is a choice of sticker shapes to choose from; however, this design is currently configured for the square shape sticker. You will need to do some customizing if you choose a different sticker shape.
Extra enjoyment can be had working this fun puzzle with a family member's and or friend's photo. The puzzles come in a variety of sizes. The 11" x 14" and 16" x 20" come in a choice of regular sized pieces or oversized pieces. Each puzzle comes in a cardboard carry case, with the picture printed on the lid.
Check out these choices and more on the following link. It will take you to my CherylsArt store on Zazzle and show you all of the current available wizard hat products:
Happy Halloween!
Cheryl Paton
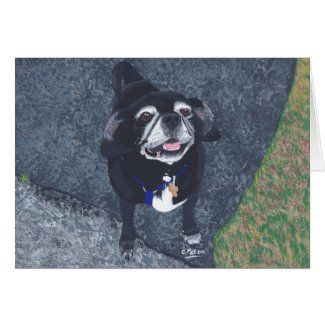
I met my neighbor on one of my many walks through our neighborhood. Over time we exchanged greetings and then started chatting. I had my camera with me on one of my walks and asked her if I could take a picture of her dog, so that I could paint her. I also asked if she minded if I made money from it. She was fine with that.
I finished the painting and showed it to her; she really liked it and wanted it on some cards. We are splitting the cost so that it is a win win for both of us.
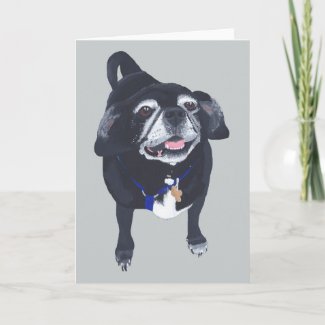
So here is the cute pug, pictured on summer themed greeting cards.
She didn't want any text so that they could be more versatile; however they can be customized with text if you like.
This little dog is so cute, and she looked so happy when I took her picture. She likes going for walks and she also likes the attention.
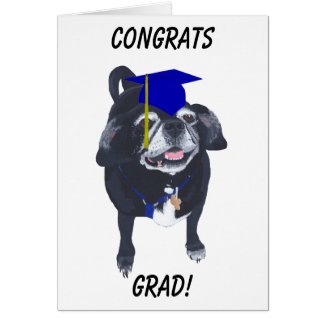
Here she is to give Grads some attention!
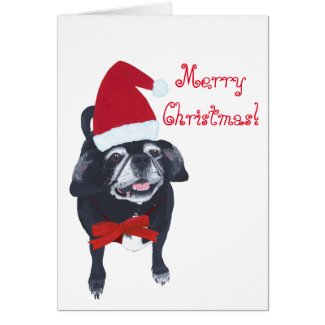
My neighbor really loved seeing the Santa version.
Here is another version for anytime of the year.
May this happy pug dog bring a smile to your face as well.
Cheryl Paton
Mosaics, by nature, refer to stones, tiles, etc., that have been cut apart, and then mortared together to achieve a picture. Although artists of various kinds can also make mosaics that don't require stones. One of the techniques to use is paint. Here I'll share with you four different ways that you can create a mosaic painting. Each one has their own unique look.
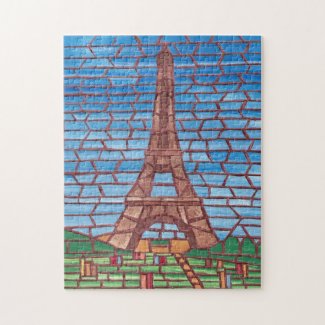
In this first technique, I painted my "stones" by painting variegated colors on sheets of canvas. You can use a variety of colors, and give them different colors, blends, and/or textures to find the look that you are going for. I then drew my design on a new sheet of canvas, cut my "stones" apart with scissors, from the painted canvases. Then I glued them in place to make my Eiffel Tower design.
Here it is pictured on jigsaw puzzles for some added fun.
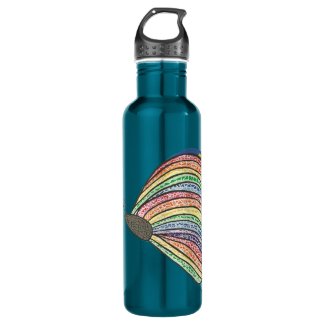
With this next design, I started with an initial butterfly drawing, and painted in strips of color on the wings, I painted a darker color on the body. I then applied a crackle medium for acrylic paints. After it is applied, the paint will start to separate and little lines will appear - making the paint look like it is breaking apart. That is the beginning of the mosaic look here.
I then went in and painted the cracked areas of the body, with black.
I added a lighter mortar colored paint to outline the colors on the wings. Here it is printed on stainless steel water bottles. You can choose from a variety of colors for the bottle.
In many mosaics, the glass has a see through or translucent look.
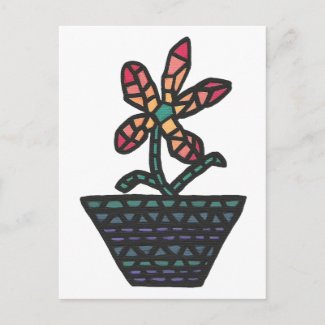
In this flower painting that I did, I used a floating medium for acrylic paints to achieve a translucent look. It is a clear gel like liquid, that helps acrylic paint to look like water colors. You can also use extenders and blending mediums, but I prefer the thickness of the floating medium for this technique.
You can mix it directly into the paint, or as I did in this painting, apply it directly to the canvas first, and then add apply the paint on top of it, while both are still wet.
Once I got my "cut tiles" filled in, I outlined the pieces in black. Here it is printed on postcards.
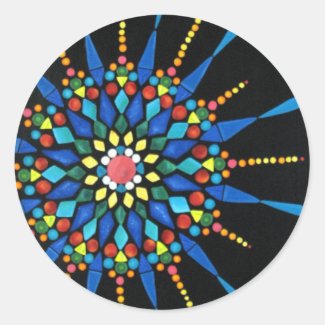
The first mosaic painting that I did was one of gem stones.
I started by drawing circles on my canvas. That was going to give me the background for arranging the "gem stones."
There was no crackle medium or floating medium used in this painting. All the shading and highlights were done simply by blending the acrylic paint directly on the canvas.
In this mosaic painting, the "tiles" do not fill in the whole area. Also, I made some of the stones round, which would normally be kind of hard, if someone were cutting out actual tile. However, mosaics can be made from a variety of mediums, including round stones and pebbles.
Once I completed this painting, I varnished the black area with a matte varnish, and the stones with a gloss varnish, for an enhanced effect.
Here it is printed on stickers.
All of the acrylic mediums listed above are the ones that you can find in craft stores.
Which is your favorite mosaic look? Which mosaic technique would you like to try?
Cheryl Paton
Dishwasher magnets, when used correctly, makes life a bit easier. No longer does someone have to ask the question - "Are the dishes in the dishwasher clean or dirty?" They can simply look at the magnet to see which word is right side up, provided the last person who has emptied or filled the dishwasher had adjusted the magnet.
I can vouch that once my daughter and I got into the habit of turning the dishwasher magnet around to reflect the type of dishes that were inside the dishwasher, our lives became easier and more friendly. She liked this idea so much that she even had me design a new dishwasher magnet for her, when she moved to her own place.
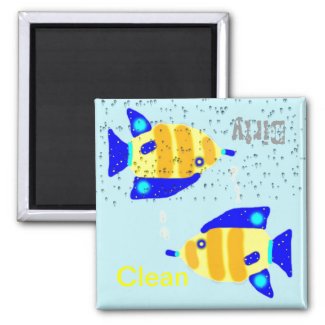
Now on with the designs. This first one features a cute blue and yellow fish swimming in clean water and dirty water.
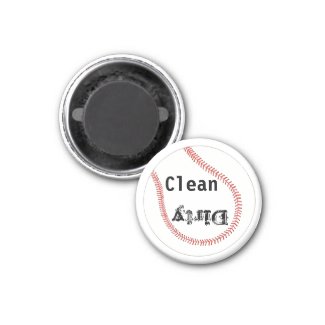
This next design is for sports fans; it features a baseball with the words Clean and Dirty on it. The word Dirty is written with scratchy letters to look dirty.
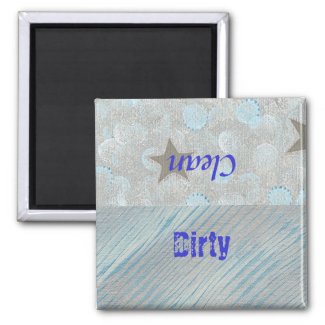
The silver and blue bubbles and stars design looks clean; the other direction looks like it needs scrubbing.
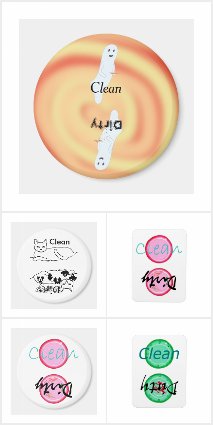
Here is a link where you can check out all the different designs in my CherylsArt store on Zazzle.
The dishwasher magnets above are ordered from Zazzle. Zazzle does the printing and the shipping.
May your life be a bit more enjoyable, with more ease.
Cheryl Paton
Cheryl Paton is the artist that designed the above dishwasher magnets. She earns income from qualifying sales at no additional cost to the purchasers.
Here you will find personalized baby bibs that you can also decorate. Each one has an outline drawing design on it which can be used as a guide for embroidery stitching. The bibs can also be used as they are, if you don't want to stitch them.
There is a placeholder on each bib for you to easily customize the name. You can then embroider the name too, if you like.
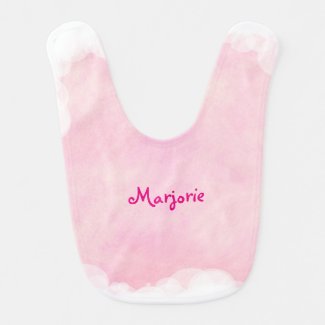
This first design features blends of pink accented with white round cloud like bubbles around the border. The name is written in dark pink letters across the pink blends.
For an added touch, simple flowers can be drawn on with non-toxic paint markers.
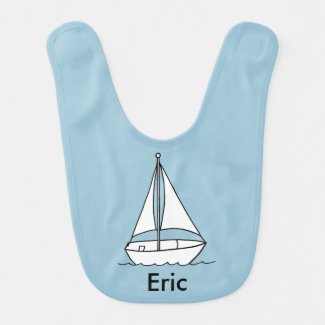
The second design is a drawing of a sailboat in the water, with little waves in front of it. The design is printed in black, and can be colored in with non-toxic paint markers, or embroidered if you like.
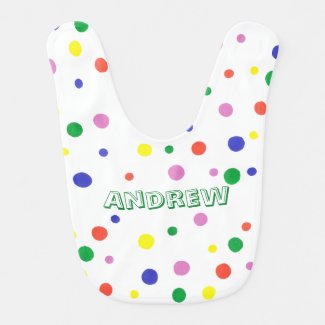
This third design features polka dots in the colors of the rainbow. The baby's name is written in green outline letters which can also be colored in, and or outlined with embroidery stitches.
Did you know that babies can see bold vibrant colors before they see the lighter pastel colors?
It's so nice to give and receive personalized gifts for baby. I still have the stitched gift that a friend had made for my daughter, from over 30 years ago.
Browse more baby bibs by CherylsArt at Zazzle.
Cheryl Paton
As a Zazzle associate, Cheryl Paton receives income on qualifying purchases made through links on this blog, at no additional cost to the purchasers. Zazzle offers a 100% satisfaction guarantee within 30 days of receiving the purchased item(s).
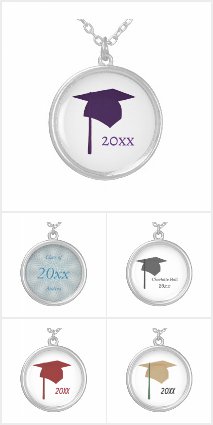
Here you will find graduation necklaces and pendants that you can customize online. A graduation necklace is a lovely way to commemorate this important milestone. You can choose a cap and tassel design and or the celebration style.
This first design features a blue cap with yellow tassel, with a placeholder for you to easily customize the year, or type in a short name or message.
This cap and tassel design is also ready in other color choices, including red on red, green on gold, and more. Check them out using the link below.
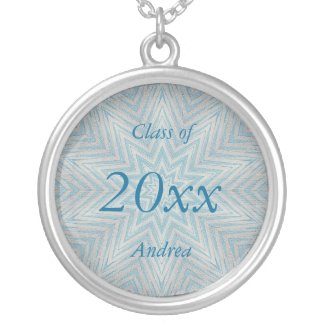
This celebration design features my painting of a star pattern of silver and blue with a streaked affect. It has a placeholder for the year in a large font, and is easily personalized with a name on the template forms:
For a wider variety, browse graduation necklaces on Amazon.
Congratulations to you and your graduate.
Cheryl Paton

A Tshirts to Color Party offers coloring fun for the kids, and gives them something that they can also take home and enjoy for months and perhaps for a year or more depending on how fast they grow. The shirts can be for themselves or made for someone else as gifts. I.e. they can color in shirts for their moms for Mother's Day. They could even trace their hands for a more personal gift.
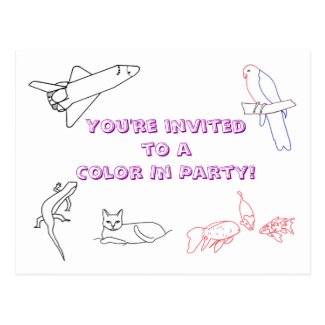
The pre-printed design is already there on these coloring shirt. The kids can color in the basic design, and they can add additional design elements to it. They can add a ball for the cat, stars around the space shuttle, a starfish or coral by the fish, etc. I have found that sometimes kids just need a basic inspiration to get their own creative juices flowing.
Wanting the short version about painting a tshirt? Read this blog: Color In Kids T-shirts Activity. For the more detailed version, continue reading below:
Here are the basic questions to consider for your party planning:
1. How many kids are you planning for? The younger the kids, the fewer there should be.
2. Do the kids like to paint? Are they experienced using paint brushes, or more so with crayons and or markers?
3. What kind of designs might they like, or is it a theme, such as dinosaurs, parrots, etc. Kids can get pretty creative with a simple design. Simple designs are best for a relatively short time period. They can always get creative and add more details on their own.
4. Can the kids easily hold a paint marker and or paint brush with little to no supervision?
5. Do you have at least one and a half to two weeks before the party date? Two is better. If so, then here we go.
Preparation and Supplies
You will need a color assortment of fabric paint and the t-shirts to color.
The kids will need old shirts to wear, or aprons, to help protect their clothing from the acrylic paint.
It is best to have some paper or plastic to help protect your table, and some paper towels for any clean ups.
Steps to take before the party.
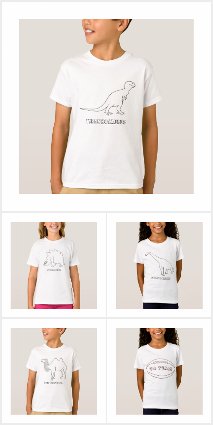
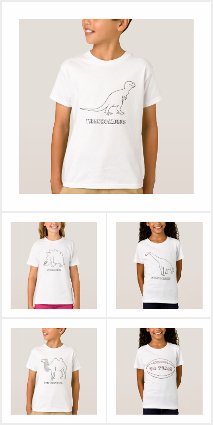
1. Before the party, you will need to order and receive the outline art tshirts in time for the party. It is helpful to pre-wash and dry the tshirts ahead of time, without the use of fabric softener. The paint will adhere better when fabric softener is not used. If you are short on time, the shirts should still do pretty well if they aren't pre-washed. The painting/coloring will work best on white or light colored shirts. Here are designs, already printed on shirts, that you can choose from.
2. Send out the invitations 1-1/2 to 2 weeks before the party. These custom postcard invitations can be personalized online at CherylsArt on Zazzle.
3. You will also need a piece of flat cardboard for each shirt, or layers of thick paper, that will be placed in between the top and back of the shirt. The cardboard needs to be large enough for the design area, plus some extra room for artistic creativity. If you don't have any boxes lying around, grocery stores are usually pretty good about helping out. You can also order cardboard cake boards; the rectangle ones are best for good coverage area in the shirt, or purchase them from a store that sells cake supplies.
4. Purchase a variety of paint colors. Fabric paint markers will be the least messy, and less supplies will be needed, i.e. brushes and water bowls.
5. You will need to provide an area for the kids to easily paint, and a place for their paintings to dry while they are playing games, snacking, etc.
Choosing the Paint
For younger children, my recommendation is fabric paint pens. These are also called fabric paint markers. They are non-toxic and are easy to handle. They can be used in a coloring motion. Tip: Aprons are a better choice for using paint markers, as the material doesn't have the stretch to it like tshirts. For techniques about painting on aprons, read my blog Outline Drawings on Aprons.
If you are using the paint pens, have some scrap paper on hand for the kids to test the paint flow and/or to get the paint flow started.
For older kids and for more blending capability, I recommend using acrylic fabric paint, the ones that come in bottles, along with a small variety of paint brushes.
Tips for the Day of the Party
1. Have all the supplies close by and ready to use.
2. Cover the table with paper or plastic.
3. Have an idea for an activity that the earlier arrivals can do. Ideas are word games and or singing songs.
4. Have the kids or help the kids put on their old shirts or aprons/bibs.
5. The first activity will be painting the color in (outline art) tshirts. (So the paint will have some drying time during the other party activities.)
6. Slide a piece of cardboard, centered behind the outline art drawing, in between the front and back of the tshirts. Lay each shirt flat for each child to paint. (If the children are old enough and able, they can do this step themselves. You can also do this step in advance.)
7. Let the painting begin.
a. Shake the paint markers first. Leave the lids on while shaking so that the paint tips stay intact. The kids can have fun doing the shake for this step.
b. Follow manufactures instructions for getting the paint flow to start. The ones that I use require the shaking, followed by pressing the tip on the scrap piece of paper a number of times until the paint has moved to the tip.
8. When the kids are done painting, allow the cardboards to remain in the shirts so the colors won't bleed through to the back. Leave the shirts on the table or a safe place to dry.
9. Do any other activities, games, have cake, open presents, etc. All this gets done allowing the shirts to have some drying time. If the shirts need to dry further, a hair dryer can help, before removing the cardboard.
10. Let the parents know any other manufacturer's instructions for setting the design, such as if there is any dryer time needed, the number of days to wait before laundering, etc.
11. The kids, or the person they are painting a gift for, will get to enjoy their master pieces for a long time.
Let me know if you have any party questions below. Your design request is welcome.
Cheryl Paton

If you are having a birthday party for younger children, then coloring or painting on paper is fine. Watercolor pencils and some various shaped brushes is a fun way for the kids to paint with watercolors.
If you are planning a coloring or painting party for older kids, then you may consider a craft type project. There are various painting kits that you can get that vary according to age range.
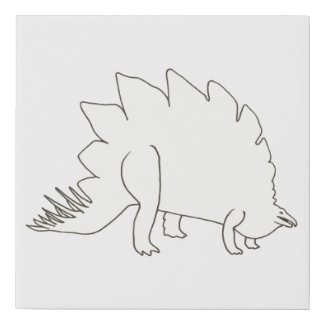
An option is pre-printed designs on wrapped canvas or faux canvas. This stegosaurus is printed on faux canvas. The acrylic paint dries faster on the faux canvas, making them easier to transport when it's time to take them home.
Rock painting kits are a fun choice for both boys and girls. The ideas that the kids can come up with are endless, from shapes to animals, cars, etc. You can even invite the kids to bring a rock with them and have them do their own thing. (Do have some extra ones on hand though, just in case.)
Acrylic paints are a good choice for painting rocks if you need extra or are planning to get your own rocks. Aprons or old t-shirts to cover up the kids clothing will help reduce any painting mishaps.
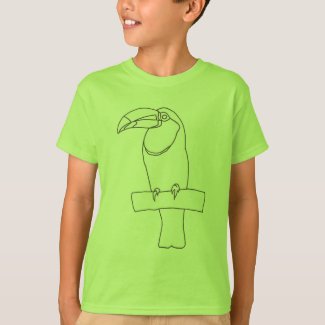
Outline designs are a fun way for older kids to paint their clothing. Pre-printed outline designs are an easy way to get the kids started. They love to add their own colors and designs to the pre-printed outline. Here is an example of a toucan, just waiting to be colored in.
Check here for more outline drawing designs printed on tee shirts.
Aprons, and canvas bags, also make a fun painting/coloring choice.
Some kids prefer painting with brushes, and this is great for older kids that have more dexterity. Younger kids will probably have better success with acrylic paint markers. There is usually less mess with paint markers. If you are buying your own, make sure that the markers are rated for painting on fabric. Water based markers will probably wash out, and at the very least, will bleed across the fabric.
Important: Whichever method you choose, be sure to place a flat sheet of cardboard between the fabric layers to avoid paint bleed through to the back of the shirt, bag, etc.
When I used to host birthday parties at a local craft store, the kids always loved the painting parties. Even if they started with the same basic kit or design; each child added their own creativity to the designs. Everyone was always engrossed in their own painting. Paper plates were provided as palettes. The acrylic paint was easily squirted onto the plates to give each child their own color choices.
A major tip: For any type of painting activity, have the kids do their painting at the beginning of the party, so that the paint can be drying while the kids are playing games, eating snacks, birthday cake, etc.
If some kids get there early or are still painting while others are done, have them sing some songs. They find it quite entertaining and it helps to keep everyone occupied and in the same area.
Cheryl Paton
Share in spreading some peace with custom Peace Sign Tote Bags. You'll find a variety of designs here that you can also personalize if you like.
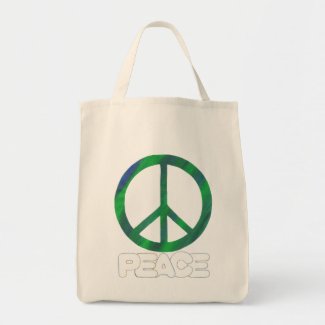
I made this first design for a special request of green and blue blends. The word Peace is spelled out under the blended sign in outline letters; the word can be colored, painted in by hand, with paint markers.
I liked it so much, I made an option in purple and green blends.
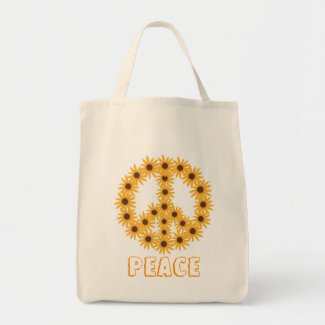
If you prefer a bright and cheery look, then you'll probably enjoy the peace sign designed with a painting of yellow sunflowers. The word Peace is spelled out with yellow outline letters that have a yellow shadow to the left and bottom of the letters.
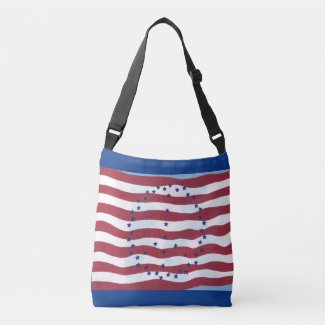
For a modern patriotic design, I recommend the peace sign made up of fifty stars printed on a red and white striped flag.
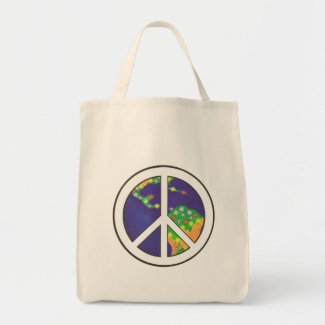
For a more universal appeal, I recommend the world peace sign design. I painted a picture of the earth, that is flowering and flourishing, with the peace sign in front of it.
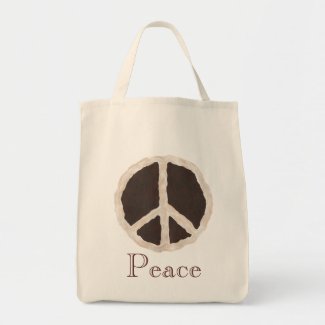
For fun and also for thoughts of chocolate, here is my painting of a chocolate peace pie, printed on canvas bags. The word peace is written under the pie with brown outline letters.
Any of the above tote bags can be customized with your own text. Any of the designs can also be ordered on the bag style of your choice. The bags range from the small budget style to sturdier and larger canvas styles.
You can see more Peace Bags by CherylsArt at Zazzle.com.
Cheryl Paton