Showing posts with label cheryl paton. Show all posts

Monday, April 7, 2025

Coordinating Blends Stripes and Dots Scrapbook Paper

Here you will find a selection of blends scrapbook paper along with two other options that coordinate with the original design.

Here is the original design in blends of red, orange, green, blue, and purple. I applied stripes with coordinating colors on the original background sheets.


scrapbook paper


Blends and Stripes Scrapbook Paper, the original version. Check price.


Here is the original blends design topped with polka dots and lighter shades for the striped pages.


Dots and Stripes Scrapbook Paper: 5 Blended Backgrounds. Check price.


This third version includes the same original blends, with various patterns of coordinated colors of polka dots.


scrapbook paper


Polka Dots on Blends Scrapbook Paper: 5 Blended Backgrounds Decorated with Dots. Check price.

Each design is printed on the front and back of two sheets of the 8.5 by 11 inch paper, giving multiple options for your design creations.

The paper is printed with premium colors on white paper. The paper is not perforated but can be cut out of the paperback book.

Pick and choose your favorite designs for a fun and coordinated creation. They make a great choice for scrapbooking, junk journaling, card making, collage making, and more.

Happy creating!

Cheryl Paton

As an Amazon affiliate, Cheryl Paton earns income on qualifying purchases made through links on this blog, with no additional cost to the purchasers.

Friday, March 7, 2025

Graduation Scrapbook Paper

Here you will find a variety of color themed options of graduation scrapbook paper. There are themed color options to celebrate various stages of graduation, including elementary school days to graduation day itself and celebratory dancing. These options are in scrapbook paperback books. A single sheet option is offered near the bottom.

banner


We'll start at the top of the rainbow with red.


graduation scrapbook paper


Red Graduation Scrapbook Paper. Check price.


Each paperback features celebratory images.

Next option is green.


graduation scrapbook paper


Green Graduation Scrapbook Paper. Check price.


Each paperback also features diploma themed pages.

Next option is blue.


graduation scrapbook paper


Blue Graduation Scrapbook Paper. Check price.


Each paperback features a variety of affirmations for the graduate(s).

Next option is purple.


graduation scrapbook paper


Purple Graduation Scrapbook Paper. Check price.


Each paperback also features pages with a decorative photo frame on the page to feature a photo of the graduate.

Black and White.

graduation scrapbook paper


Black Graduation Scrapbook Paper. Check price.


Finishing off is gold. This paperback includes both light and darker shades of gold.
Gold Graduation Scrapbook Paper. Check price.


This fun graduation design is available in single sheets.


Check Cheryl's ScrapbookBackgrounds store on Zazzle to find more individual sheets of scrapbook paper, as well as rubber stamps and albums.

Thank you and Happy Graduation to all the graduates.

Cheryl Paton

As an Amazon affiliate and Zazzle associate, Cheryl Paton earns income on qualifying purchases made through links on this blog, at no additional cost to the purchasers. Amazon and Zazzle are the companies that handle the printing and shipping. Zazzle is a print on demand company.

Tuesday, February 11, 2025

Dinosaur Facts and Fun Activities

Here you'll find some fun dinosaur activities as well as finding out some dinosaur facts.

Did you know that some dinosaurs were herbivores? How could anyone tell, you may wonder. By their teeth. Dinosaurs with teeth that were curved were meant to use them to attack and devour other animals. If the teeth were flat in shape, they were meant to chew and grind plants.

Just because a dinosaur was big did not mean that they were carnivorous. There were herbivore dinosaurs that had long necks so that they could reach the leaves in the trees, as well as short herbivores who ate on bushes and leaves on low plants.

This fun coloring book depicts a lot of details from various dinosaurs. Many people from kids to adults have enjoyed coloring these detailed, and mostly realistic drawings. Real dinosaurs probably didn't smile. {{grin}}


Dinosaur Coloring Book Check price.


The pages in the above coloring book are single sided, which I prefer; then the colors aren't as apt to bleed through if you were to use markers.

Dinosaurs lived in a variety of habitats, including deserts, wetlands, and forests. Many dinosaurs were land animals. Dinosaurs came in various shapes and sizes. Some had wings and could fly.

Crocodiles, turtles, lizards, and some birds, are some of the animals that survived the dinosaur era. Frogs and salamanders are amphibians that also survived the dinosaur extinction.

This fun scrapbook paper book features some realistic looking dinosaurs and some rather playful looking dinosaurs. It's a fun choice for kids to adults for making paper crafts and doing scrapbooking activities.


Fun Dinosaur Scrapbook Paper Check price.


Dinosaurs are considered to be in the reptile species. Reptiles have scaly skin that is dry and rough. The dry skin can also help to keep in moisture. They are cold blooded animals and lay in the sun for warmth, and seek shade for cooling off.

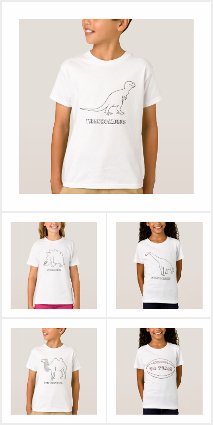
For another fun coloring activity, dinosaur shirts are part of the outline tshirt collection below. Any design can be ordered on a different style tshirt and or color.


Did you know that Sinclair Gas station had a dinosaur as part of its logo?

Did you learn something new about dinosaurs that you didn't already know? Please share in the comment section below. If you know something that I didn't mention, feel free to share that too.

Cheryl Paton

As an Amazon affiliate, and Zazzle associate, Cheryl Paton earns income on qualifying purchases made through links in the above article, at no additional cost to you.


Wednesday, January 29, 2025

Affirmations for Self

Many times when we think of affirmations, we associate them with trying to being able to accept a physical thing into our life. There is more to affirmations than trying to receive a thing or things, we can also use affirmations to enhance our own personality, our well being, and just being.

I have been inspired by more than a handful of spiritual teachers over the years. One such person was Neville Goddard. He believed very much in the power of one's word.

One of his segments focused on short phrased that each begin with two simple words. They are, I am, I feel, and I know.

They are to be used with the intent of declaring your self identity.

I sat down with pen and paper in hand, and sectioned my paper into three sections, one for each phrase prompt. Without any preconceived idea as to what I would write. I just sat in the moment and wrote. I wrote three statements that started with I am, two statements that began with I feel, and four statements that began with I know. I kept them relatively short. It's easier to recall and implement short statements.

I felt good. I felt validated. Having journaled in this way, I felt more empowered, and those thoughts resonated with me at various times throughout the day.

*I invite you to give it a try. With pen and paper, write I am on the top line, I feel about a third of the way down, and I know around two thirds of the way down. Then journal the thoughts that come to you in relation to what you want to declare about yourself.*

Neville Goddard recommended to do this practice on a daily basis, either in the morning or evening. I liked too, that it didn't have to be both morning and evening. That felt lighter to me.

Goddard also recommended giving it time. Making a change, happens over time. The more one does this practice, the more changes will start to take place, in your thoughts and how you perceive yourself.

As always with affirmations, make the statements in the present tense; i.e. I am a spiritual being. I feel happy with my self. I know I am on the right path.

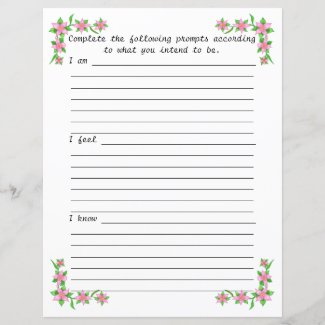
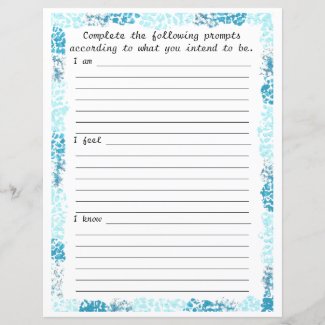
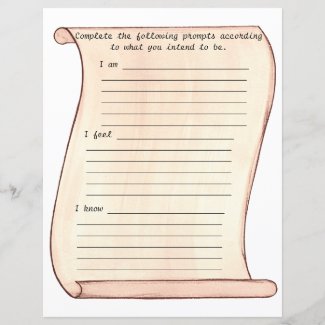
This is your path, your journey. If you would like special stationery for your journey, I have created three designs that you can choose from. Mind you, this isn't a have to. The choice is yours. I personally looked through some various notebooks and journals I had previously purchased, and chose the one that sang to me in that moment.

If you are interested in looking, the first one I designed features a pink floral corner border.


The second one is a teal, aqua border.


The third one is a scroll design.


May you enjoy your journey and your growth.

Cheryl Paton
Wednesday, November 20, 2024

How to give a straight haircut at home

My daughter had long hair, past her shoulders, which she wanted cut in to a straight shoulder length cut. I had watched beauty shop people do it before, and had done it that way before, too. Then one day, at the beginning of the haircut, I had a new idea; It worked so much better. Read on to find instructions and supplies.

Supplies:

Gather your supplies. You will need quality hair cutting scissors, a cape, a chair that is high enough for giving haircuts, and a comb.

Steps:

Wet the hair down. Wet hair is easier to cut than dry.

* Measure from the top of the head down to the desired length of the haircut. Note how much more hair is below, lengthwise, of where the new length is to be.

Section a two to three inch wide strip of hair on the top of the head and comb.

You want to keep the strip on the thinner side, so that this section doesn't become too layered.

This is the first cut, and the most important one. This first step determines the length of the rest of the hair cut.

Holding this strip straight up on top of the head, depending on which side you're on, recall the measurement from * that you noted above. Cut from front to back or back to front, keeping the edges straight. Hold the hair between your fingers on one hand, and cut with the other hand.

This photo is from after I already did the first cut.


haircut


To get a good hair cut, quality scissors are essential. Use hair cutting scissors for hair cutting only, so that they'll stay sharp.

The shears that I have used for over 40 years, are by Revlon if you are interested. You might find them elsewhere. Otherwise, the ones above got very good reviews, overall.

Comb the first section of cut hair down into the remaining hair.

Part the hair in the center.

Starting on one side, combing as you go, find the end of the first layer that you just cut, pulling in some under hair, pull both sections straight, and cut that section of hair to the edge of the already cut hair that you are holding.

If you are working with thick hair, you may need to do this step several times in each section. For thinner hair, you may be able to easily cut more layers of hair at once.

Repeat on the other side.


haircut


A hair cutting cape helps to keep loose hair off the shoulders and clothing. I like one with adjustable with an adjustable neck.

Using the same technique, and the two sides to help you keep things in line, cut the back hair.

Comb hair well, in different directions to loosen up any pieces that may have become hidden.

Cut to the length of the cut hair.

haircut


Having my daughter sit at a comfortable height for me, is a big help. I use an artist drafting chair that is adjustable, ; it also has a back rest and a foot rest, making it comfortable for her as well. I prefer using a chair without arms on it.

Voila, she is happy with her hair cut.

haircut


Why I like this method.

I didn't have to pin piles of hair on her head.

I didn't have to cut one side and keep measuring to see if they were even. Holding the top layer straight over the center of her head, at the beginning of the cut, served as my guide for keeping the hair even, once I combed that section down.

This is the basic haircut that I have been giving my daughter for around the last 20 years.

See how I gave myself a short haircut here: https://www.reviewthisreviews.com/2024/11/atmoko-hair-clippers-review.html


Cheryl Paton

Wednesday, August 28, 2024

Coloring Books by Cheryl Paton


Here you will find a variety of coloring books by Cheryl Paton, listed in alphabetical order by category. You will find coloring books for kids to adults, including animal themed, floral and seasonal designs, and more.

The coloring images are printed on one side of the page. A blank area or a decorative area is printed on the back of each page to help minimize bleed through. This also provides a nice option for hanging all or any of the colored in images.

Some books can actually fit in to two categories. For now, I have listed the qualifying coloring book in the two qualifying categories.

The book titles are listed alphabetically in the corresponding categories. Each of the links below open up in a new window on Amazon.

Enjoy.

Affirmations
Positive Affirmation Coloring Book
Proverbs As Affirmations Coloring Book

Animals
Birds and Flowers Coloring Book for Adults
Happy Dogs Coloring Book, for kids to adults.
I Love Cats Coloring Book (with cute sayings)
I Love Cats Coloring Book Two
More Than a Hound Dog Coloring Book, for adults.
What Animals Eat Maze and Coloring Book

Floral
Birds and Flowers Coloring Book for Adults

Holidays
Easter Scrapbook Paper and Coloring Pages

Motivational
Motivational Coloring Book for Walking

Occupations
Occupations are Opportunities Coloring Book

Seasons
Signs of Autumn Coloring Book for Adults


Check out my review of one of the coloring books that I ordered, Signs of Autumn Coloring Book for Adults on Review This Reviews.

Cheryl Paton

Wednesday, October 11, 2023

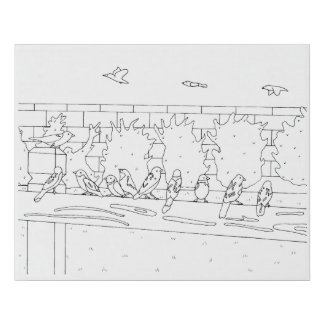
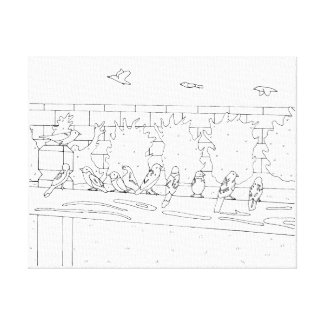
Birds on a Rail to Paint

Here you will find a couple of different options to paint birds on a rail, from a drawing that I did.

I made the drawing from a photo that I took of a group of sparrows that had gathered on my back deck rail. I was amazed to see so many in a group. One bird was sitting on the post and looked to be talking to the birds sitting on the rail; so cute.

painting


This first painting option is printed on faux canvas. It comes flat, with indented creases to be folded to make a box like shape. A notch is already cut out for hanging. It is lightweight. I recommend this option for beginners, and or kids. The paint seems to dry quicker on this material, which can be helpful if there are hands and arms that might end up resting on the paint. However, it does wash off of skin easily with soap and water.


This next option is printed on wrapped canvas. It is heavier and sturdier than the faux canvas, and is meant to last long term. I recommend this option for more serious painters. With this surface, there is more blending time when using acrylic paint, as compared to the faux canvas.


The drawing is the same on both canvases.

Here is the finished painting that I did on the wrapped canvas; I decided to make the birds colorful!

sparrows


I used two types of acrylic paint on this painting. I used bottled acrylics (liquid acrylic paint) for the background. I used acrylic paint in tubes (full bodied acrylic paint) for the birds. The full bodied acrylic paint has better coverage, and was also much brighter than the liquid acrylics. I don't know if that was just a brand difference though. I did use Americana paint for the liquid paint, and Liquitex for the full bodied paint.

If you paint this picture, let me know what kind of paint you use, and your thoughts in the comment section below.

Happy painting!

Cheryl Paton

Thursday, September 7, 2023

Colorful Polka Dot Tshirts

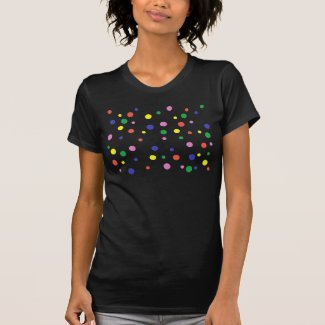
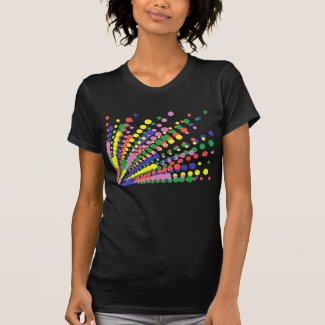
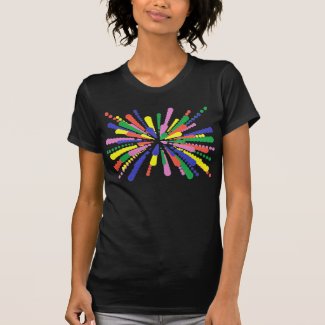
Choose from three options of colorful polka dots, in various sizes, printed on tshirts. Pick the design that you like, then choose the tshirt style, tshirt size, and color. You can choose from kids to adult sizes.

The first design is the basic pattern.


The second design features the the dots spreading out from the lower left corner, when looking at the front view.


The third choice is the polka dots coming out from the center and getting larger.


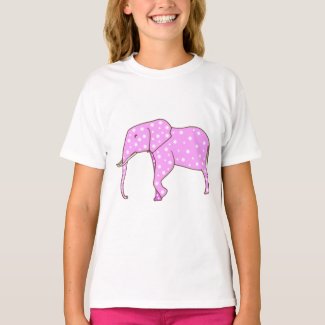
For those wanting another option, check out this cute polka dot elephant shirt.


Which one is your favorite? Let me know in the comment section below.

Cheryl Paton

Wednesday, March 1, 2023

Wind Blown Peace Sign on Puzzles and more

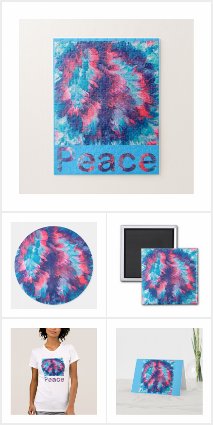
Check out the various products that this pretty wind blown peace sign is on.

The peace sign is shades of pink, blue, and purple. The background is shades of light blue, white, pink, and lavender.

I made the peace sign from a pour and press method. I poured the paint in the desired colors to make the peace sign. I filled in the background with the other colors; all on bubble wrap. I then pressed my canvas into the poured paint, and then lifted the canvas up. What I got was a windblown look of the peace sign.

Here you can find this pretty design on puzzles, tshirts, magnets, stickers, aprons, pin on buttons, greeting cards, and more.

The puzzles can be ordered in a variety of sizes, with 30 oversized pieces for children, to a challenging 1014 pieces for teens and adults.

The tshirts come in a variety of styles for children to adults.

The magnets come in a choice of square and round.

The stickers come in a choice of a variety of shapes. Some shapes display the design better than others.

Check them out in my CherylsArt store on Zazzle, here:


If you would like a visual of my design and how I made it, check out my video.


Thank you for stopping by, and for your patronage too, to those who make a purchase.

Wishing you a blessed and peace filled day.

Cheryl Paton

Thursday, September 22, 2022

Cute Halloween Cards and Postcards

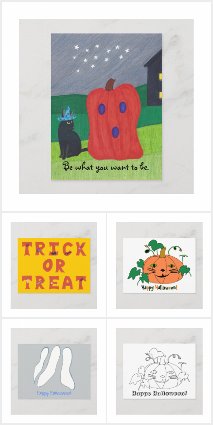
Welcome. You have found a cute collection of Halloween cards and postcards, that you can also customize.


You don't have to wait or search, just jump right in on the link below; it will take you to CherylsArt store on Zazzle, to see all the different Halloween cards and postcards. Some of them have outline drawings on them for some added coloring fun for Halloween.


If you'd like to read more, continue on here.

Halloween is my daughter's favorite holiday. She is in her 30's now, and Halloween is still her favorite holiday. She likes the cooler weather, and all of the costume options and Halloween decorations. She's been adding decorative ghost pillows to spruce up her decor.

When she was young, Halloween lasted much longer than one day; for whatever costume she wore, got much extended use both before and after the holiday. Playing dress up was a big theme for her. I could wake up and see a mermaid laying across the floor every day, for months after.

She and her friend would dress up in feathers and shawls and fancy dresses. They had such fun. Halloween helped to make that possible.

I'm also a lover of Halloween, and will sometimes dress up when passing out the treats; it is such fun for adults too!

Speaking of Halloween joy, I will need to pick out a card just for her, because she loves Halloween so much. Here's the text link for the Halloween cards and postcards. Halloween Cards and Postcards

Wishing you a fun day and Happy Halloween.

Cheryl Paton
Tuesday, May 31, 2022

How to make an acrylic paint skin

paint skin


Making an acrylic paint skin is quite easy. The simple instructions are:

1. Pour paint onto a surface that the paint will easily peel from once the paint is dry.

2. About 1/8 inch is a good thickness for your paint pour skin.

3. Let the paint dry thoroughly.

4. Start from an edge, and gently peel the paint skin from the surface.

Those are the simple instructions, and you can get started anytime that you choose.

For a little more detail and guidance, read on:

You will need a non-stick surface that your paint can be easily peeled from. I use a baking silicone mat. I've seen others use plastic sheet dividers; the kind that are for notebooks.

It is helpful for your different colors of paint to be of the same consistency.

It is fun to experiment to create different designs and effects. Try making designs with different colors and patterns. Swirl some designs, press others, tilt and rotate others, etc.

Each paint skin has two sides! They will not necessarily look the same. You get to choose which side to use in your artistic creation. Shown below is the other side of the chameleon design that is shown above!


paint skin


Which chameleon design to you prefer? Let me know in the comment section below.

Patience is key. I create my paint skins in our basement, which is relatively cool. It usually takes two to three days to dry thoroughly. It may only take two days if your paint pour is in a warmer location. If you peel to soon, and you see some of the paint sticking to the surface, gently press it back down, and give it an extra day of drying time.

Once I made my acrylic paint skin, I then created the background that I will place my paint skin on.

For this design, I wanted to create a funky chameleon. I didn't have any chameleon photos of my own, so I searched for a royalty free chameleon image. I found one that I liked, and made a donation to the creator. I used the image to easily create the shape that I wanted to use. I printed the original chameleon and cut it out; that became the template that I used on my dry acrylic paint pour.

I traced the shape onto the side that I wanted to use. I chose to trace it onto the side that I wanted to be visible so I could line my colors up better. You can also trace on the reverse side of the skin, so there won't be any visible tracing marks. I then cut out the shape with scissors.

Once you have your paint skin the way you want it, you can attach it to a surface. You can attach it to jewelry, magnets, canvases, etc. For jewelry and magnets, you can use diamond glue. For attaching your acrylic skin to canvas, you can simply use acrylic paint as the glue. Just paint it on the reverse side, press down, and let it dry. You can then add any additional details to the skin, and or your background surface.

Thanks for stopping by. If you like this page, please share it. Thank you.

Here is one of the products that I added the green chameleon to.


You can find more chameleon products by CherylsArt on Zazzle here: Chameleon by CherylsArt

Cheryl Paton
Saturday, February 26, 2022

Cute Cat Shirts for Cat Lovers

Meow; come on in and check out my cute cat designs on tshirts:

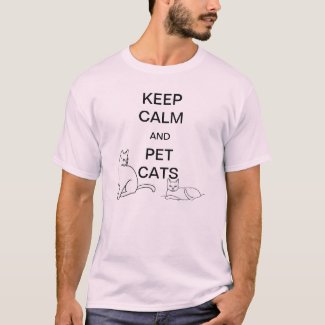
Do you have the same idea as I do - Keep calm and pet cats. Cats are such great friends. They are are a purr-fect way to help stay calm. I love petting mine.


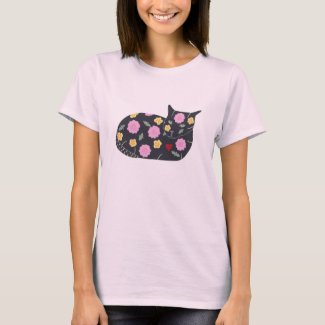
This unique cat shirt features a fun design of plants and flowers that are listed as safe for cats to eat, painted on a black cat. She makes quite the fashion statement.


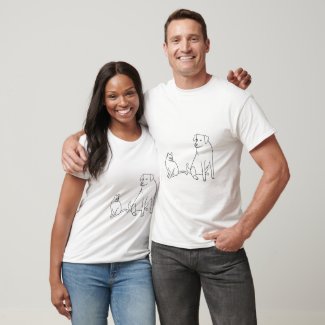
It has been said that dogs are man's best friend. Did you know that cats and dogs can also be best friends? These fun outline designs can also be a coloring/painting activity. Read more about that here.


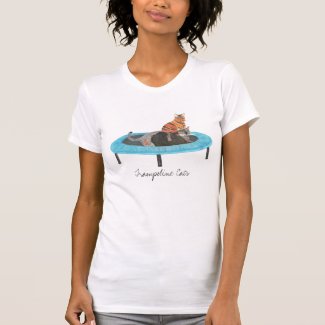
Did you know that cats are also great teachers? On this funny shirt, two cats demonstrate an awesome way to use a mini trampoline!


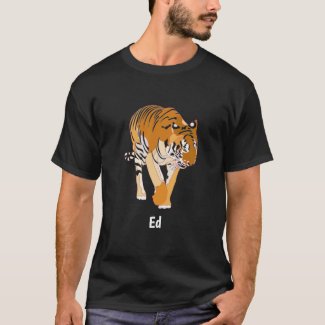
Do you like big cats too? This awesome tiger shirt can be personalized with a name or a short message.


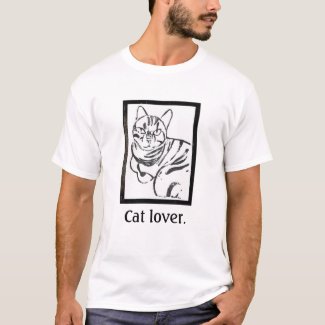
This one is for those who like a frame around the cat. There are other color options to choose from in my CherylsArt store on Zazzle.


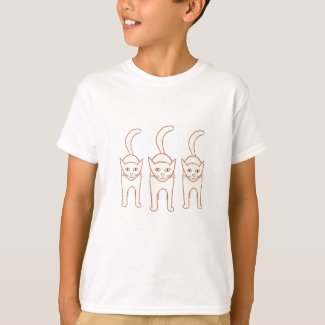
This cute cat shirt is a fun one for autumn and Halloween. Three outlines of brown cats are walking side by side, heading right towards you, on these fun shirts.


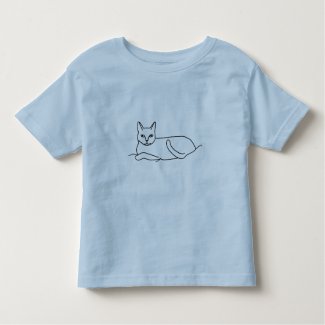
Simple and sweet is the look out this cat outline that is laying down, printed on the tshirt style and color of your choice. It's purr-fect for cat lovers of all ages.


Thank you for stopping by. Which one is your favorite?

Shop for more cat shirts at CherylsArt on Zazzle.

Cheryl Paton
Monday, February 14, 2022

The Affirmation Experiment

Banner


Welcome. Here you will find a set of three affirmations that I came up with that helped me. I hope that you find them helpful too. I am offering them to you for your own personal use. If you feel so inclined, I would also like your feedback, for which I would be grateful.

The instructions are pretty simple:

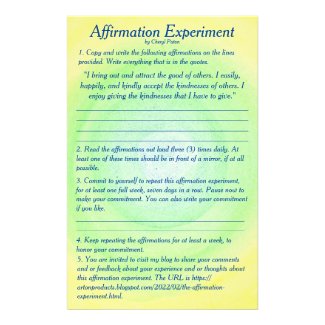
Read the affirmations first and decide if you want to do this experiment. Here they are: "I bring out and attract the good in others. I easily, happily, and kindly accept the kindnesses of others. I enjoy giving the kindnesses that I have to give." If you want to do this experiment, then you will make a commitment to yourself to do the readings for one week. (You can do them longer if you like.)

Then you will write down the affirmations on an index card (or whatever you have), read them three times a day - preferably once in the morning, once in the afternoon, and again in the evening. Also preferably out loud, and at least one time of the day - in front of a mirror.

Read them again the next day and continue on with the reading of the affirmations for seven days in a row. Then come back here and share your feedback. If you like the results after doing the experiment for seven days, then share this blog post, or the flyer below, with another/others. The specific details, along with the affirmations, follow:

Step 1. - Day 1.
Copy and write the following three affirmations on an index card. Write everything that is in the quotes.

"I bring out and attract the good in others. I easily, happily, and kindly accept the kindnesses of others. I enjoy giving the kindnesses that I have to give."

Step 2. - Commit to yourself.
Commit to yourself to repeat these affirmations for at least one full week, seven days in a row. Pause now to make your commitment, and add a comment below to add your intention.

Step 3. - Then read the affirmations several times a day, for seven days in a row.
Read the affirmations out loud, with positive feeling, at least three (3) times daily, for a full week. It can be helpful to say at least one of these times in front of a mirror. An occasional glance will suffice. If any of the affirmations doesn't seem quite true, just suspend your disbelief, perhaps read that affirmation again, and continue on.

Step 4. Honor your commitment.
Keep repeating the affirmations for at least a week, following the instructions in step 3, to honor your commitment.

Step 5. Day 8..
After you have done this affirmation experiment for one whole week, come back and share your feedback. 

That's it.

Here is a printout of the instructions that can be purchased from my CherylsArt store on Zazzle, if you would like. It is not required to do the experiment.


You can also decide if you want to continue with reading the affirmations for another week or more. Whether or not you have noticed any progress or not at first, you can still decide what you want to do. The more time that you give to any new thought, the more natural the thought can become over time.

If you have found using these affirmations helpful, then please share this blog page, and or purchase copies of the flyer below for sharing this experiment.


Thank you for your consideration and or participation. Bless you.

Cheryl Paton
Thursday, January 20, 2022

Rulers with the Alphabet for Kids

rulers

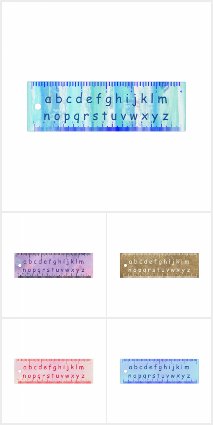
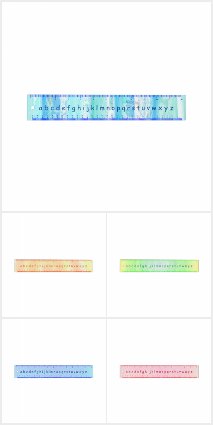
Choose from a variety of rulers in different color themes, with the alphabet, on both six and 12 inch sizes. These make a nice option for both home and or school.

This first selection features the English alphabet in lower case letters. I chose a font that depicts the letter 'a' the way that children are taught to write it; with a circle and the line.

This link shows the 6 inch rulers with the alphabet. This alphabet design fits on the 6 inch rulers with two rows of letters. The colors of the letters coordinate with the color(s) on the ruler.


The 12 inch rulers features one row of letters.


All of these rulers are made from clear acrylic and are made in the USA. The measurement markings show both inches and centimeters. The markings come in an option of eleven color choices, though you can also order these rulers without any markings if you just want to have an artistic straight edge.

Cheryl Paton
Cheryl Paton receives income on qualifying purchases made through links on this page, at no additional cost to you. Thank you.